Proxmox Guest VM Isolation: Stop Hypervisor Lateral Attacks
[ info ] // Meta
Category
SecurityThere is a certain pride and peace of mind when looking at a Proxmox Virtual Environment (PVE) dashboard with all green status indicators. The cluster is healthy, Ceph storage synchronization is smooth, weekly backups run without errors, and most importantly public internet access to management port 8006 has been completely sealed off with a hardware firewall in front of it.
As an admin, I thought that fortress was impenetrable. My logic was simple: “Who can get in and mess up the cluster configuration if all management ports are tightly closed from public access?”
However, the reality in the field often slaps us hard. That morning, the cluster security logs showed an anomaly that made the hair on the back of my neck stand up, there were thousands of failed login attempts to the user root@pam.
The question was: Where were they coming from?
I immediately checked the attacker’s source IP. It wasn’t an IP from China, Russia, or some other country. It was a local subnet IP 192.168.x.x. My heart raced as I realized the terrifying fact. That IP belonged to one of the client’s Virtual Machines (VM) running inside that very Proxmox node.
I realized I had made a fatal mistake common among beginners and careless seniors alike assuming the internal network (LAN) is a safe zone free from threats.
I forgot that the biggest threat to a Hypervisor is often not a genius hacker breaching the perimeter firewall from across the ocean, but a “roommate”, a VM that has been compromised by bad actors.
The illusion of internal security
Let’s dissect the scenario. This attack scenario is very simple, requires no sophisticated tools, but the impact is deadly.
- Entry Point: A VM running a web server (e.g., Ubuntu Server with WordPress) gets hacked. The cause is classic, outdated plugins, weak
adminuser passwords, or poor upload filters. The hacker gets in and gains shell access on that VM. - Reconnaissance: From inside the compromised VM, the hacker performs simple network scanning using
nmapor even apingsweep of the local subnet. - Discovery: The hacker finds the gateway IP or the Proxmox host IP residing on the same network bridge (
vmbr0) subnet. - Attack: Because the default Proxmox installation often leaves management port 8006 open to all interfaces on bridge
vmbr0, the hacker can see our Proxmox login page from inside the VM. (If you are troubleshooting legitimate connection failures to this service, see our diagnostic runbook on Proxmox web UI not loading on port 8006).
From this point, it’s just a matter of time. They can run a password brute force against the Proxmox root account without being blocked by external firewalls (since the attack is coming from “inside”), or exploit unpatched PVE vulnerabilities.
If they manage to breach the Hypervisor level, it is Game Over. They can delete all VMs, steal backups, format storage, or plant ransomware at the host level that will lock the entire company infrastructure.
This reminds me of the basic defense principles I wrote about in Linux Server Hardening Best Practices: never trust default settings, even on internal networks.
Isolating the “bad apples” with vlans
This incident taught me an expensive lesson, we must treat every VM as if it were a potential enemy. Zero Trust Architecture is not just vendor marketing jargon, it is an absolute necessity in the cloud computing era.
After that incident, I completely overhauled my virtualization network architecture. Here are the practical steps I implemented that saved me in subsequent incidents:
Separate management path and guest traffic
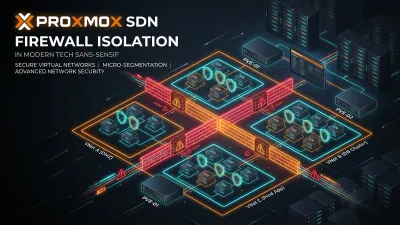
Never let user VM traffic mix (same subnet/same bridge) with the Proxmox management interface. Separate them physically or logically using VLANs (Virtual LANs).
- VLAN 10 (Management): Strictly for Proxmox Host IP, iDRAC/IPMI. Accessible only from the Admin laptop or a dedicated VPN.
- VLAN 20 (VM Public): Strictly for VM internet traffic.
- VLAN 30 (VM Private/DB): Strictly for backend database communication.
With this separation, even if a VM in VLAN 20 is hacked, the hacker inside cannot ping or see the Proxmox management IP in VLAN 10. The path is cut off at the switch or router level.
Internal network attack cases like this share a similar pattern with edge infrastructure attacks, where strict traffic separation is the key to mitigation.
Activate firewall at datacenter/node level
Proxmox VE has an incredibly powerful built-in firewall feature (pve-firewall) integrated directly into the Linux kernel. Unfortunately, this feature is often turned off or untouched by admins out of “fear of misconfiguration” that could lead to a lockout (admin locked out of their own server).
Don’t be afraid. Turn it on! The safest strategy is to create “Whitelist” rules at the Datacenter or Node level.
Example safe Proxmox firewall logic:
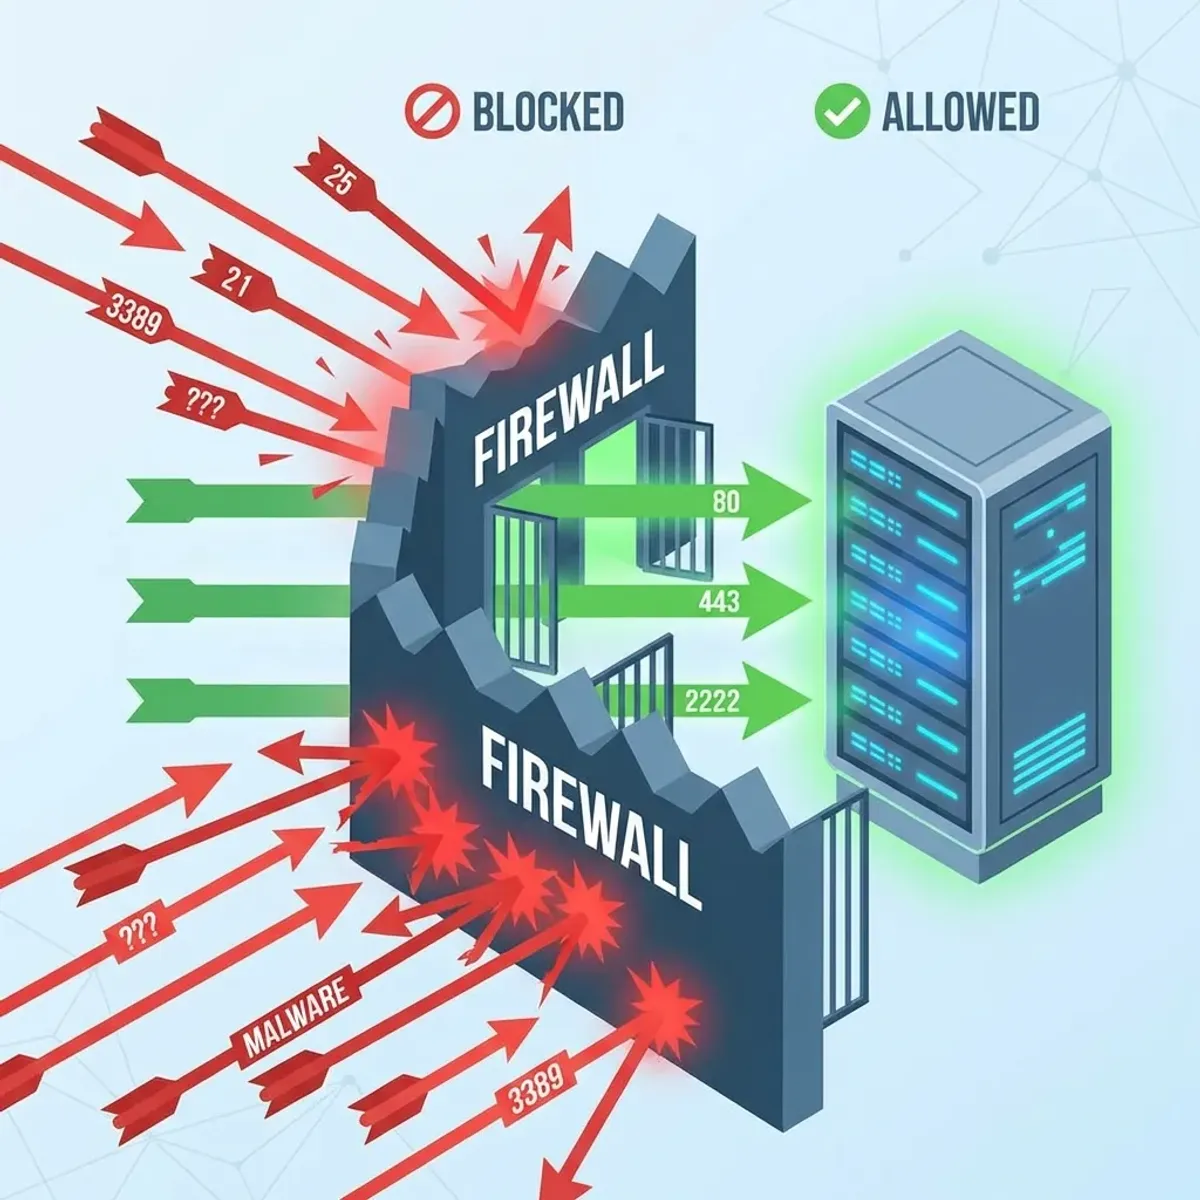
- Drop by Default: Set Input Policy to DROP.
- Allow Management IP: Allow ports 8006 (GUI) and 22 (SSH) ONLY from the static source IP of the admin laptop or office VPN IP.
- Drop Internal: Ensure DROP rules catch traffic from VM subnets.
# Rule logic illustration (not copy-paste command):
IN ACCEPT -p tcp --dport 8006 -s 192.168.10.5 (Admin Laptop)
IN ACCEPT -p tcp --dport 22 -s 192.168.10.5
IN DROP -p tcp --dport 8006 -s 0.0.0.0/0 (Deny all else)
With these rules, even if a hacker inside a VM can “see” the Proxmox Host IP, their request packets to port 8006 will be immediately discarded by the host kernel firewall.
Important Tip: Before applying DROP rules on management ports, ensure you have physical access (monitor+keyboard) or IPMI access to the server. Just in case you accidentally block yourself.
Never trust “localhost”
Security is layered (Defense in Depth). Securing Proxmox from public internet access is just step 1. Securing it from “backstabbing” attacks by its own VMs is step 2, which is often forgotten due to excessive trust in internal networks.
This case changed my mindset to be more paranoid in a positive way. Client VMs can be compromised at any time. App bugs can appear at any time. My job as a sysadmin isn’t to ensure the system is 100% unbreachable (because that’s impossible), but to ensure that even if one hotel room catches fire, the flames won’t burn down the whole building, and most importantly won’t burn down the main control room.
Detecting internal reconnaissance
How do you know if one of your VMs is actively probing the hypervisor? Look for these telltale signs.
Check hypervisor access logs
Proxmox logs every authentication attempt. If you see repeated failed logins from an unexpected internal IP, investigate immediately.
grep 'proxmox.*authentication failure' /var/log/syslog | awk '{print $NF}' | sort | uniq -cThis command shows the source IPs of failed auth attempts. If you see VM subnet IPs here, you have a compromised guest.
Monitor bridge traffic
Install fail2ban or crowdsec on the Proxmox host, configured to detect port scanning patterns originating from bridge interfaces.
iptables -I INPUT -i vmbr0 -p tcp --dport 8006 -m state --state NEW -j LOG --log-prefix "PVE-ACCESS: "Audit SSH key trust
A common pivot technique is stealing SSH private keys from a compromised VM and using them to access the host. Regularly rotate keys and enforce passphrase protection.
Once an attacker holds SSH keys, moving between servers is only a matter of technique. I walked through a complete Linux server pivot attack scenario on a real network.
Recreating the attack: a minute by minute timeline
To make the risk concrete, here is how the whole incident played out from the attacker’s point of view. It is uncomfortable to read, and that is exactly the point.
Day 0, 14:02. The attacker exploits an outdated WordPress plugin on the client’s web VM. It is a known CVE with a published exploit script. No special skills required, just reading.
Day 0, 14:11. Shell access is confirmed. The attacker runs ip a and sees the VM sits on 192.168.1.0/24. Next, a quick ping sweep maps every live host on that subnet, including the Proxmox host at 192.168.1.2.
Day 0, 14:19. curl http://192.168.1.2:8006 returns the Proxmox login page. The management interface is reachable from the guest network because the default install binds to all interfaces.
Day 0, 14:20 to 03:40. A brute force runs against root@pam. Four hours later, one credential from a reused password finally matches. The attacker is now the hypervisor administrator.
Day 1, 09:00. Backups are mounted and exfiltrated. Two production VMs are deleted as a proof of impact. The company does not know until users start complaining.
Every step after the first one was preventable. The exploit happened, but the lateral movement, the brute force, and the final breach were all enabled by network design decisions, not by luck.
Prevention checklist
Before deploying any VM on your Proxmox cluster, run through this. These controls sit on top of the Linux security fundamentals I cover in basic Linux for system administrators.
- VM is on a dedicated VLAN, never on the same bridge as management
- Host firewall enabled,
pve-firewallwith DROP default policy - Management access restricted, port 8006 and 22 only from admin IP or VPN
- VM cannot reach host IP, test with
pingandcurlfrom inside each VM - Backups are network-isolated, separate storage network from management VLAN. Follow our runbook for Proxmox Backup Server hardening and ransomware defense to isolate datastore permissions from the hypervisor.
- IDS/IPS on internal traffic, monitor bridge traffic for anomalies
If you cannot confidently check all six, your hypervisor has a gap. Choosing resilient, copy-on-write storage backends also provides immutable rollback against rogue VM disk modifications.
Control to prevention mapping
| Control | What it blocks | Where to configure |
|---|---|---|
| VLAN separation | Lateral movement to management network | Switch/router, vmbr bridges |
pve-firewall DROP default | Any traffic to management ports from guests | Datacenter → Firewall → Options |
| Source IP allowlist (8006/22) | Brute force from anywhere but admin IP | Node firewall rules |
| SSH key rotation + passphrase | Pivot using stolen keys | ~/.ssh/authorized_keys, key management |
| Network-isolated backups | Ransomware at host level deleting backups | Separate storage VLAN, immutable snapshots |
| IDS/IPS on bridge traffic | Reconnaissance and port scans | fail2ban, crowdsec, log monitoring |
Each row answers three questions at once: what the attacker loses, where you turn it on, and why it matters. If a control is not implemented, write down the risk it is supposed to cover. Unmanaged risk has a way of introducing itself.
Final verification
Check your Proxmox firewall configuration now. Access one of your VMs, open the terminal, and try to ping or curl https://<PROXMOX-Host-IP>:8006.
If the status is “Reply” or the login page appears in that VM’s terminal? Congratulations, you have homework tonight before bed.
Implementation Checklist
- Replicate the steps in a controlled lab before production changes.
- Document configs, versions, and rollback steps.
- Set monitoring + alerts for the components you changed.
- Review access permissions and least-privilege policies.
Official References
Need a Hand?
If you want this implemented safely in production, I can help with assessment, execution, and hardening.
Contact MeNeed an Offsite Backup Node or Corosync QDevice?
Deploy an independent cloud Droplet to act as a lightweight Corosync QDevice tiebreaker, remote PBS backup sync relay, or isolated test environment with $200 in free credits.
Transparency: We independently test and operate all recommended infrastructure. If you use our partner links, you receive free promotional credits and support our testing lab at zero extra cost to you.
Weekly Production DevOps Runbooks
Join 1,000+ infrastructure engineers receiving real-world Linux troubleshooting, Proxmox clustering setups, and Docker optimization runbooks every Tuesday. Zero spam, unsubscribe anytime.

About the Author
Kamandanu Wijaya
IT Infrastructure & Network Administrator
Infrastructure & network administrator with 15+ years of enterprise experience, focused on stability, security, and automation.
Certifications: Google IT Support, Cisco Networking Academy, DevOps.
Need IT Solutions?
DoWithSudo is ready to help setup servers, VPS, and your security systems.
Contact Us